Scheduled Job page is mainly used to create scheduled job to send mail or others.
We can find this page follow step: Customer (in top bar) > Contact Person (in sidebar).
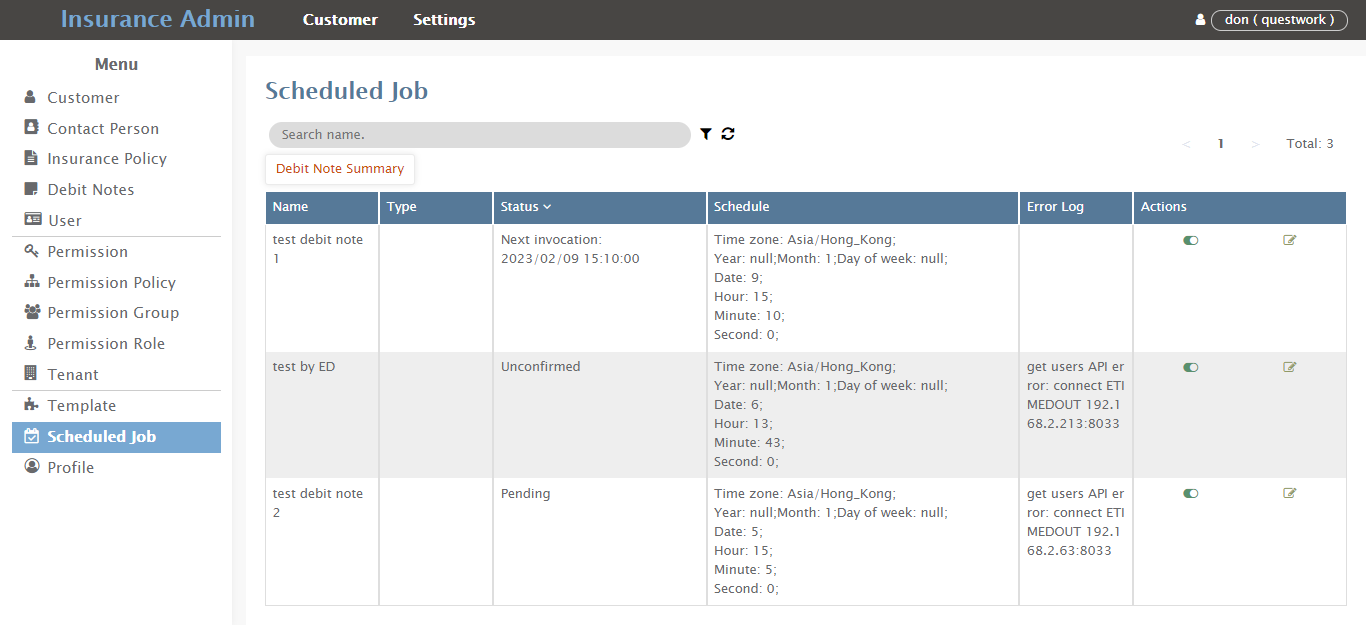
We provide shortcut keys to create a scheduled job.
Debit Note Summary
Click「Debit Note Summary」button in the search bar will popup Create Scheduled Job form, as shown below:

Refer to the notes to help you fill in:
ꔷ Name: (Optional)
Name this scheduled job.
ꔷ Template: (Optional)
Select the debit note email template you want to send regularly.
ꔷ Host: (Optional)
Host URL. (The preset does not need to be changed.)
Mail Options
ꔷ From: (Optional)
Input the sender’s email address.
ꔷ Mailer: (Optional)
Input the mailer name. (Default SendGrid)
ꔷ apiKey: (Optional)
SendGrid API Key.
ꔷ Time zone: (Optional)
Input in the time zone to be sent regularly.
ꔷ Sending time: (Optional)
Input the sending Year and select Day(s), Hour(s) and Minute(s).
